Your Cart is Empty

Firstly, let me answer a couple of frequently asked questions:

Our Finishing Oils are oil based and made from a blend of pure tung oil, natural plant oils and waxes, they've been inspired by luxurious timber tops with unique graining to help you achieve your dream surface.
Think of them as buildable tints, you can control the opacity by applying a second coat.
Aside from the 'Raw Matte' Finishing Oil you'll receive a soft sheen with these oils.

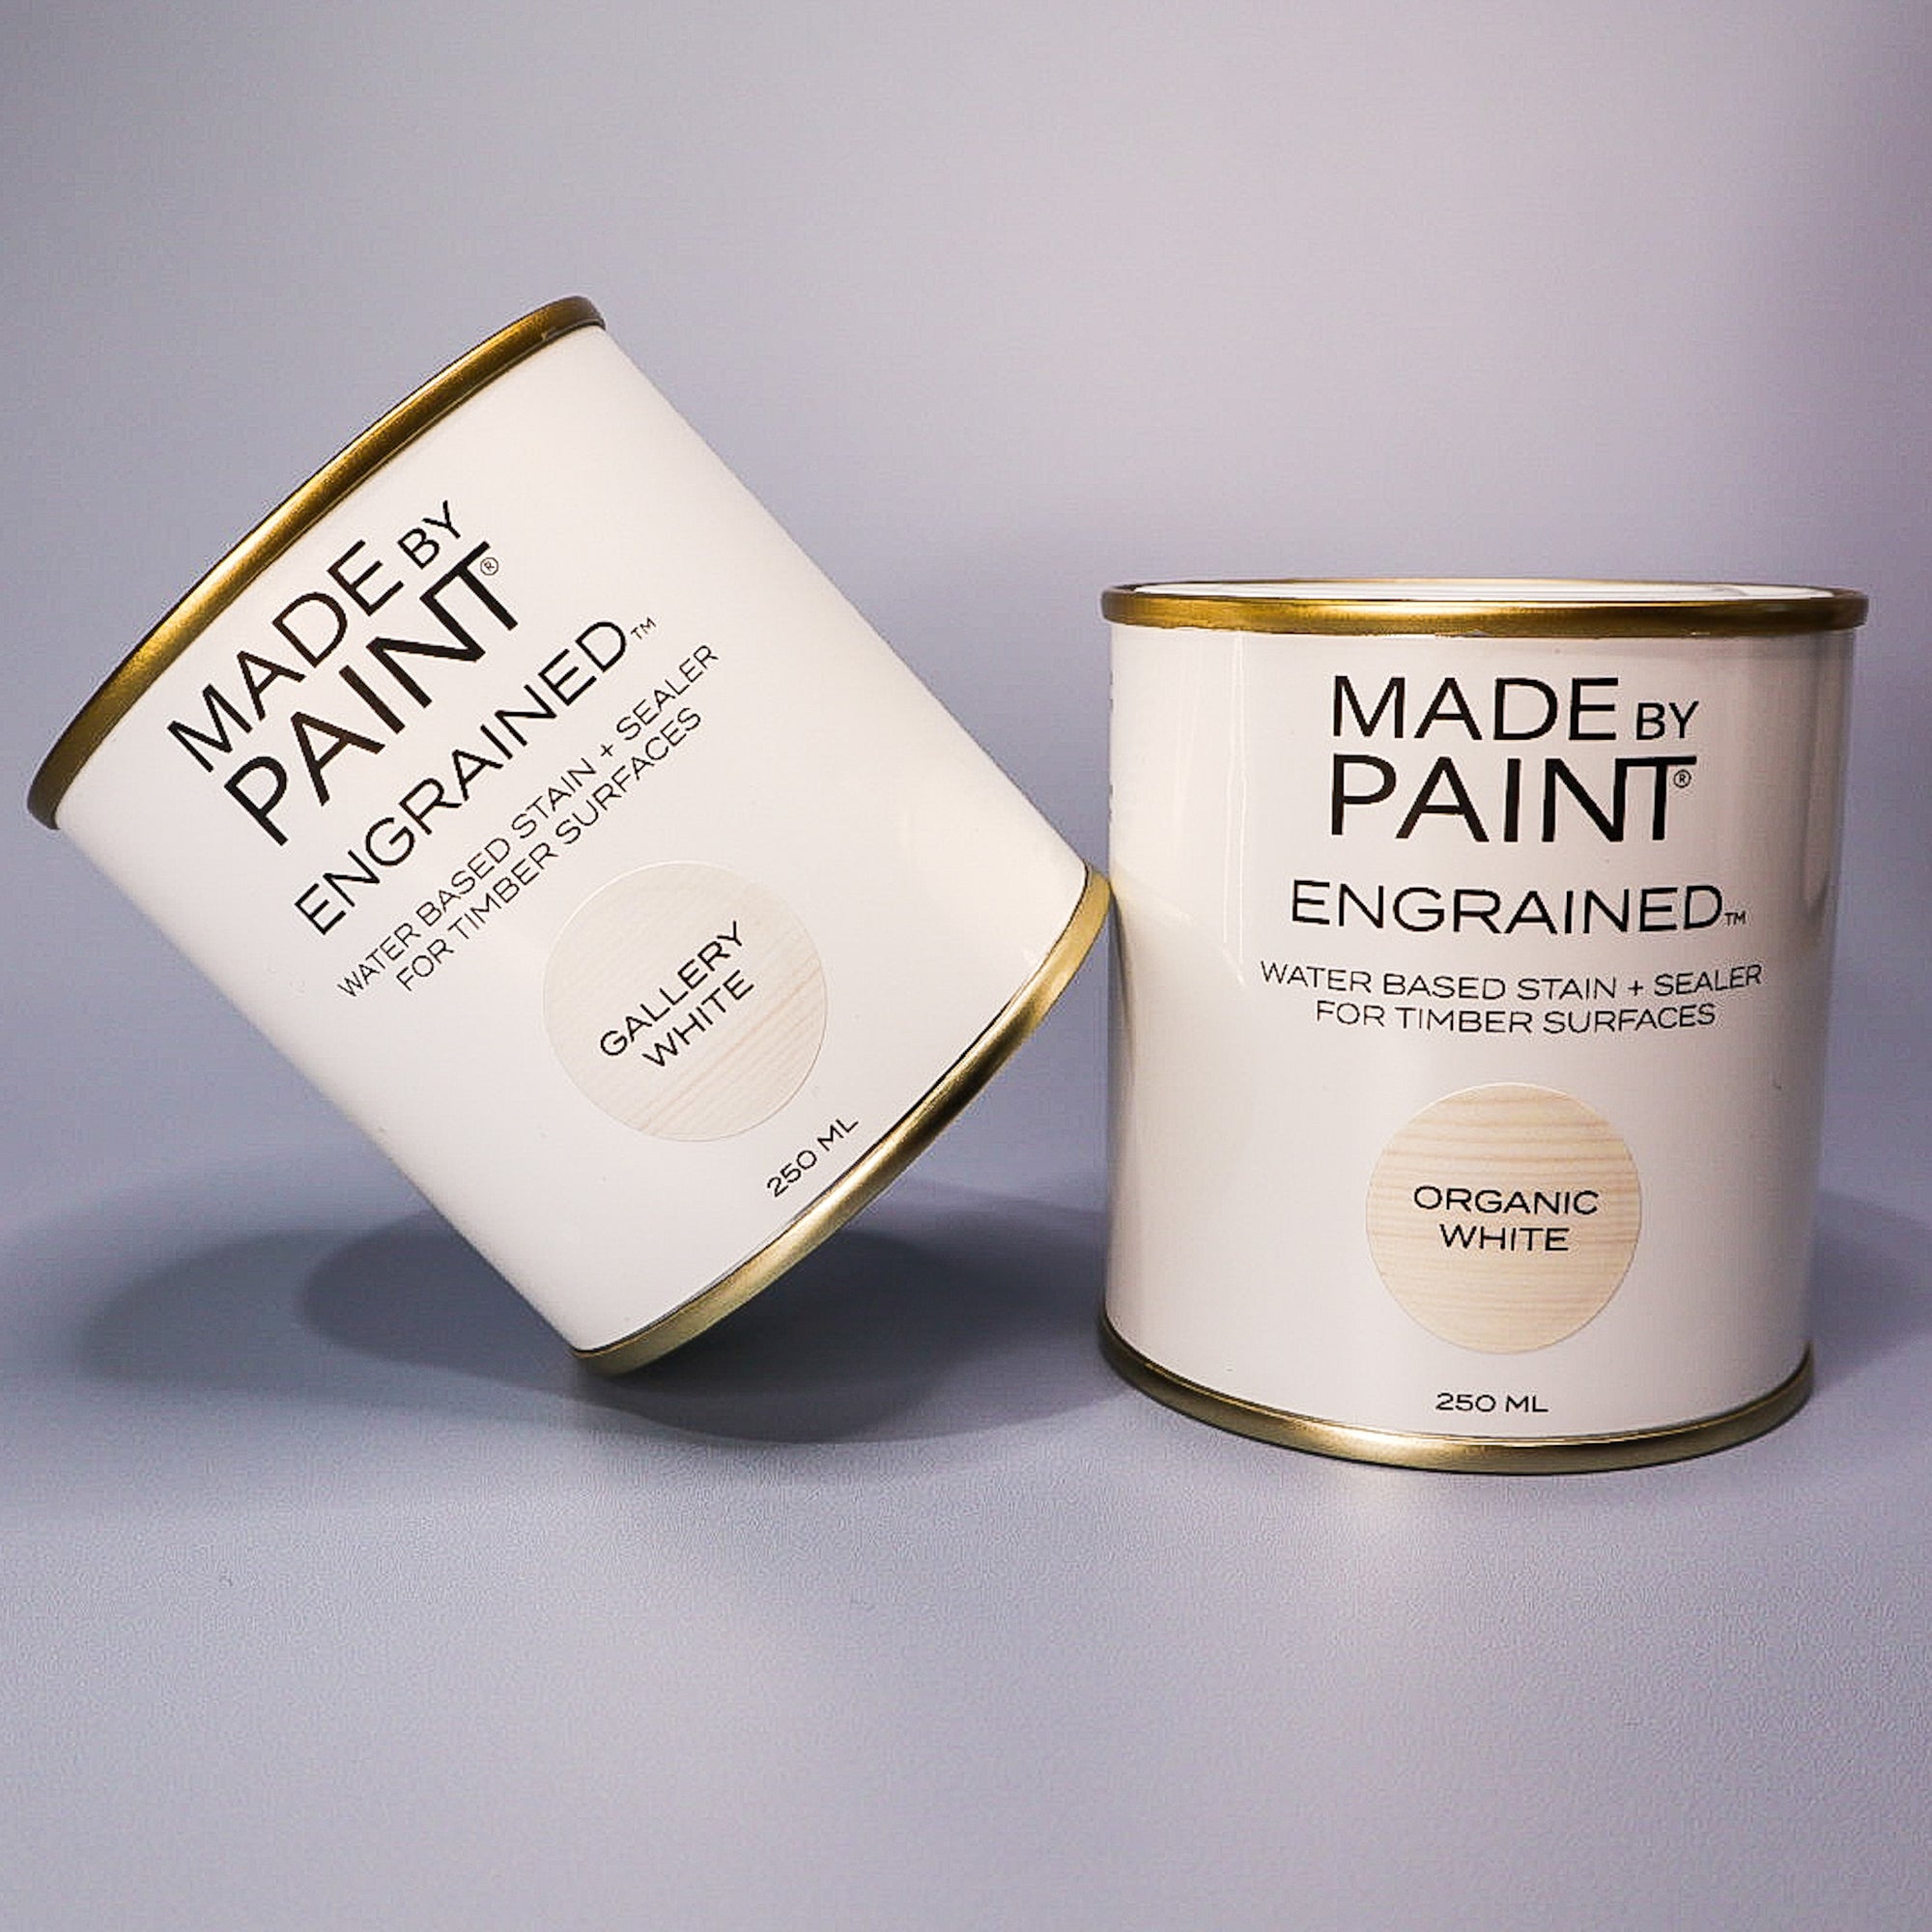
Engrained Stains are water-based stains provide a highly durable, protective and impervious matte finish/coating for interior and exterior use.
You can build the opacity with these stains also, however I would take caution using 'Gallery White' though, one coat is going to be very opaque.
Both are non-toxic meaning they are family friendly and come in the 250ml size. They both penetrate the pores of the wood for conditioning and cure hard.
In short no, our finishes are durable if you leave your piece for 7 days to cure fully.
However, if you have a high traffic piece that you're particularly worried about scratching (you know how you 'live' in your home better than me) - I recommend you apply another coat of clear from whichever finish line you're using. 'Natural Satin' or 'Raw Matte' over the top of a tinted Finishing Oil, or 'Bare Grain' over an Engrained Stain with colour.
Different species of timber will take stains differently. The most problematic species for splotchiness in my experience is pine. When I say splotchiness, I'm talking about a surface that absorbs stain more in some places than others making it look uneven.
To fix splotchiness, you can either keep applying more coats to try and cover it up with opacity or sand back to wood again.
To prevent it (and save yourself the pain) - I recommend applying a clear coat of 'Bare Grain,' stain, 'Natural Satin,' or 'Raw Matte' Finishing Oil as a first coat to create an evenly hydrated surface for the coloured stain to absorb into. Some of you may have sanding sealer/or wood conditioning product in your collection too which works in a similar manner.
Okay let's jump into the application of achieving stained timber furniture!
Step 1.
Strip your piece back to raw timber using a stripping agent of your choice, a heat gun or my preferred method with a sander.
Step 2.
If using an orbital or belt sander (better for bigger pieces), mindfully sand starting with an 80 or 120 grit then move up to a 180, then a 240 grit. Don't go any higher, as you want the pores of the wood to be open enough to absorb the finish.
Step 3.
After you've finished removed the substrate wipe the timber down with a slightly damp Chux a few times or use a tack cloth to get rid of wood dust. Let it dry fully.
Step 4.
Put on disposable gloves and grab a synthetic brush, sponge, foam roller/applicator or a fresh Chux and decant how much Finishing Oil or Engrained Stain you need into a seperate container (to prevent cross-contamination).
As needed/required apply a clear coat using the below method and the same for subsequent coloured coats.
When applying the Engrained Stain in humid conditions, dampen your applicator to increase the working/open time. Keep a wet edge and do not stop and start or overwork.
When applying a Finishing Oil Use a brush or Chux to apply evenly along the wood grain or painted surface, ensuring all areas are completely coated. Allow 15 minutes for the Finishing Oil to absorb into the surface.
Step 5.
After 2 hours re-apply Engrained Stain after lightly sanding between coats with 240 grit sandpaper to smooth if timber raising occurs.
After 15 minutes remove excess Finishing Oil with Chux and buff. Leave for 12 hours and apply another coat if needed.
Step 6.
If wanting an extra coat for piece of mind, apply 'Bare Grain' or 'Natural Satin' or 'Raw Matte' after the respective 2 or 12 hour period.
Step 7.
Let cure for 7 days before putting anything on your stained surface, this is a really important step to follow for durability.
Step 8.
Lean back and admire your highlighted grain!
I hope this has been helpful to you dipping your toe into showcasing grain and playing with finishes and stains.
Shop all our wood finishing products here.
Comments will be approved before showing up.
